How to Install Payload CMS 3 on Next.js 16: Step by Step | Abdullah Rasheed | Software Engineer
Software Engineering
How to Install Payload CMS 3 on Next.js 16: Step by Step
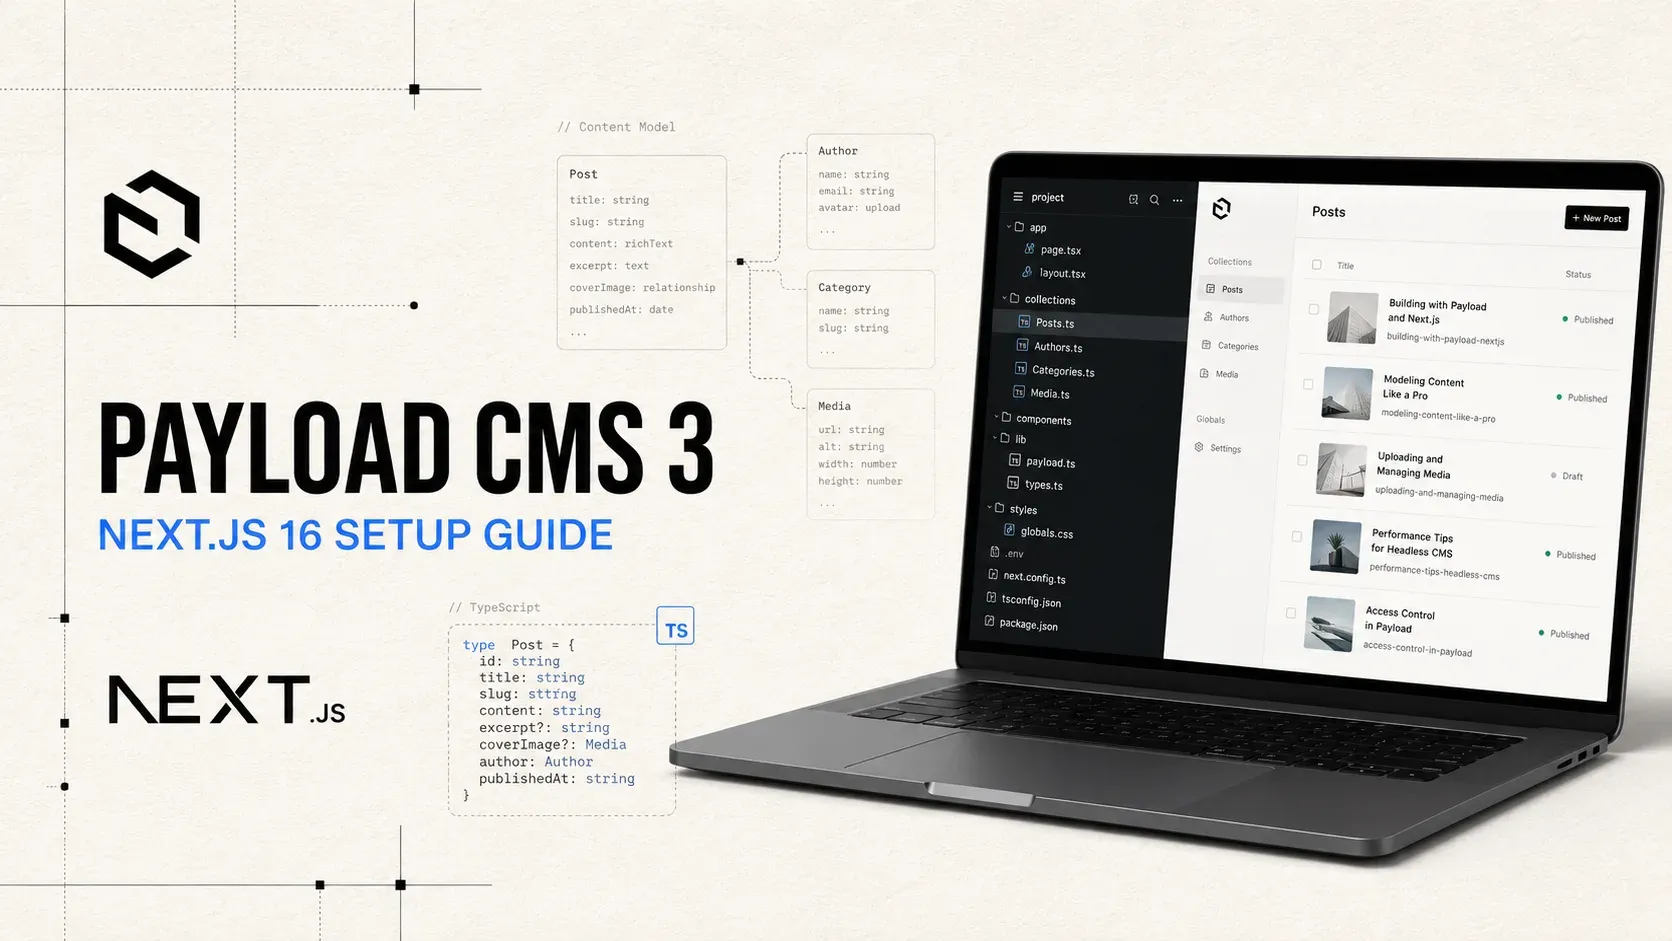
Discover how to build a Payload CMS 3 app on top of Next.js 16, how to setup the database, and how to access the admin dashboard to create your first collection.
Abdullah Rasheed | Software Engineer· 5 min read
Setting up Payload CMS 3 with Next.js 16 and PostgreSQL
The Payload CMS 3 is hosted inside a Next.js app. Rather than having to deal with a separate CMS on the backend and frontend, you have all of these in your TypeScript project. In this guide, you will learn how to set up Payload CMS 3 with Next.js 16 and PostgreSQL. We will also configure the official SEO plugin and Vercel Blob storage.
There are two ways to follow this guide:
Use my free blank starter template for the quickest setup.
Create the project manually using Payload’s official project generator.
The basic template will do for starters if a basic working framework is needed. The manual process will be preferred if one wants to know how the first payload was created.
Last checked: September 2026. Payload and Next.js requirements can change, so verify the versions in the linked official documentation before starting a production project.
Payload recommends pnpm, which I will use throughout this guide. You may verify the latest requirements in Payload’s official installation guide. You can install pnpm via this command:
npm install -g pnpm
Choose your setup method
Method 1: Use the free starter template
This is the easiest option if you are a beginner or are experiencing problems with the initial setup.
The starter repository provides a blank project structure with:
Newsletter
Get new posts in your inbox
No spam. One email when I publish something worth reading.
Next.js 16, Payload CMS 3, PostgreSQL configuration, A Payload admin panel, A Users collection, A Media collection, Payload’s SEO plugin, Vercel-Blob storage configuration, An environment-variable example, Setup instructions in the README
A .env.example file also uploaded here with dummy placeholders. you just replace four variables with you actual ones and change it name to .env.local
If you still confuse you can follow the step by step guide line in readme.md file for each variable source. After basic setup completion run the application in development mode by using following command.
pnpm dev
Open the website: http://localhost:3000
Open the Payload admin panel: http://localhost:3000/admin
On your first visit, Payload will ask you to create the initial administrator account.
Important: Never commit your actual .env file, database password, Payload secret or Blob token to GitHub.
If the starter works for you, you can move directly to the section explaining the project structure. If you want to build the setup yourself, continue with the manual method.
Method 2: Create the project manually
Payload provides an official command for generating a new project.
Run:
npx create-payload-app@latest
The setup will ask you to provide a project name and select the available configuration options. You may pick on your own choice which database, package manager or plugin you will use, it will automatically install all required dependencies
After installation, enter your project folder:
cd your-project-name
Start the development server:
pnpm dev
Obtain a PostgreSQL connection string from your local database or managed database provider. Add it to .env:
The key thing here is that postgresAdapter gets your DATABASE_URL via its connection pool. There can be some extra configuration in the auto-generated code. Don't delete it just to make your file look like in a tutorial. Payload works using Drizzle ORM and node-postgres under its official PostgreSQL adapter. You can find the configuration options for it in the PostgreSQL adapter documentation.
Create your first admin account
Run the development server if it is not already running:
pnpm dev
Visit:
http://localhost:3000/admin
When no user exists, Payload displays a registration form for the first administrator. Enter your email address and a secure password. After registration, you will be redirected to the Payload admin dashboard.
Understand the project structure
The frontend route group
The (frontend) route group holds your Next.js public pages and layouts and components. This is built using the regular Next.js App Router.
The Payload route group
The (payload)route group holds routes that are necessary for the admin panel and the Payload APIs. These generated routes link Payload with the Next.js application. Normally you do not have to edit them when setting up the basics.
Collections
The collections directory contains the schemas for your application’s data.
Examples include:
Users
Media
Posts
Categories
Products
Authors
Bookings
When you add a collection to the Payload configuration, Payload can generate its admin interface and APIs.
Add the Payload SEO plugin
Payload’s official SEO plugin lets content editors manage search metadata from the admin panel. Install it:
pnpm add @payloadcms/plugin-seo
Import seoPlugin into payload.config.ts and place it inside the plugins array. Enable it for your Posts collection and connect it to your Media collection.
Once configured, it can add: Meta title, Meta description, Meta image, Search-result preview, Metadata auto-generation
For example, your title generator can append your site name:
Article Title | Abdullah’s Blog
Add Vercel Blob storage
During local development, Payload can store uploaded files on your computer. That approach is unsuitable for many serverless deployments because local uploaded files may disappear after redeployment. For a project hosted on Vercel, you can use Payload’s official Vercel Blob adapter. Install it:
pnpm add @payloadcms/storage-vercel-blob
Before configuring the plugin, ensure that your project has an upload-enabled Media collection.
Useful official links
These are the primary official resources used in this guide:
Use links inside the relevant sections of the article. This final list can remain as a compact reference, but avoid linking every repeated mention of the same technology.
Outlook
Two options for getting started with Payload CMS 3 are Next.js 16 and PostgreSQL. If you want a quick start, download my free Payload CMS and PostgreSQL starter from GitHub., follow its instructions and set your own environment variables. If you want to learn the configuration process yourself, go for Payload’s official project generator.
Start with a small working structure. Once you understand how collections affect the database, admin panel and APIs together, you can gradually turn the project into a complete blog, business website or content platform.
Tags
Next.jsHeadlessCMSPayloadCMSTypescriptFull Stack development